Showing posts with label With Love From Paris. Show all posts

Friday, 13 December 2019

Let it Snow


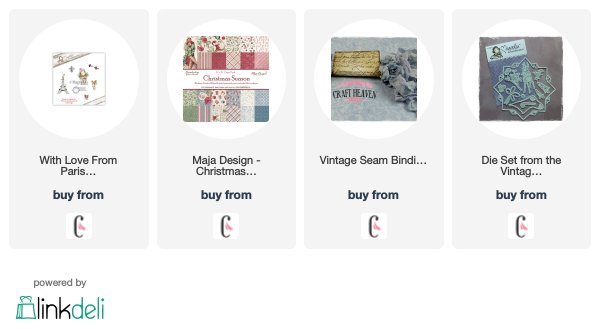
Good morning!  I'm on a roll with the Christmas cards now!  This one features the gorgeous Tilda from the With Love From Paris Collection and Maja Design papers from their Christmas Season Collection.


I have painted Tilda with Distress Inks and once again added some Aleene's Glitter Snow around her feet and along the card edges.  I am loving this medium!


I have used the snowflake Doohickey dies from Volume 23 and added gems to their centres.  The card base was cut with the frame from Vintage Box 6.


I have used some gorgeous blue seam binding from Craft Heaven and a diamante snowflake charm.  The sentiment is an older one from Magnolia.


I hope you like it and thanks for looking!


Friday, 30 March 2018

Doohickey Kit Volume 18 - Flower Bag Tutorial

 Good morning!  If you were lucky enough to get your hands on Doohickey Kit Volume 18 then you will have seen my first ever creation as a Magnolia DT member in print!  I'm so excited to have a double page spread in the magazine!  I thought I would share with you a tutorial showing how to make the flower bag.

You will need:

Two 12"x12" sheets of designer paper
Two 12"x12" sheet of cardstock
40cm length of ribbon
Flower stamens
Peony Doohickey Die
Butterfly Doohickey Die
Go Kreate Flower Frames Die
Walnut Stain Distress Ink
Inking tool


Step 1.

 Cut out two flower shapes from your chosen designer paper using the smallest Flower Frame die from Go Kreate, and thirty flowers using the three petalled Peony Doohickey die.

Step 2.

 Ink the edges of all of the flowers using Walnut Stain Distress Ink.

Step 3.


 Separate all of the Peony flowers into individual petals as shown.  I did this by simply tearing them.  Curl all of the petals with your fingers to create definition.

Step 4.


 Arrange three petals inside each petal of the frame die cut as shown and glue at just the base of each petal.

Step 5.


 Continue adding petals in concentric circles, overlapping them so that each petal covers the join above, until you reach the centre.  Glue stamens into the middle.

Step 6.


 Cut a piece of cardstock 25cm x 9cm.  Score each long edge 1cm away from the edges then cut notches to create tabs as shown above.  Cut a piece of your chosen designer paper 25cm x 7cm and ink the edges with Walnut Stain Distress Ink.  Glue the paper panel in the centre of the cardboard strip, between the tabbed edges.

Step 7.


 Cut out two flowers using the same Go Kreate flower frame die as in step 1 from cardstock.  Glue the tabs of the panel onto one of the cardstock flowers as shown, then attach the other one in the same way.

Step 8. 


Your bag should now look like this.  Glue the petalled paper flowers onto the cardstock sides.

Step 9.

Punch holes in each side of the bag and, using a 40cm length of ribbon, thread it through the holes and knot on the inside of the bag.

Step 10.

Add a butterfly cut with the Butterfly Doohickey die as shown.


 Your bag is now ready to use for a gift to someone special.

♥ 
Wednesday, 28 February 2018

Home Sweet Home

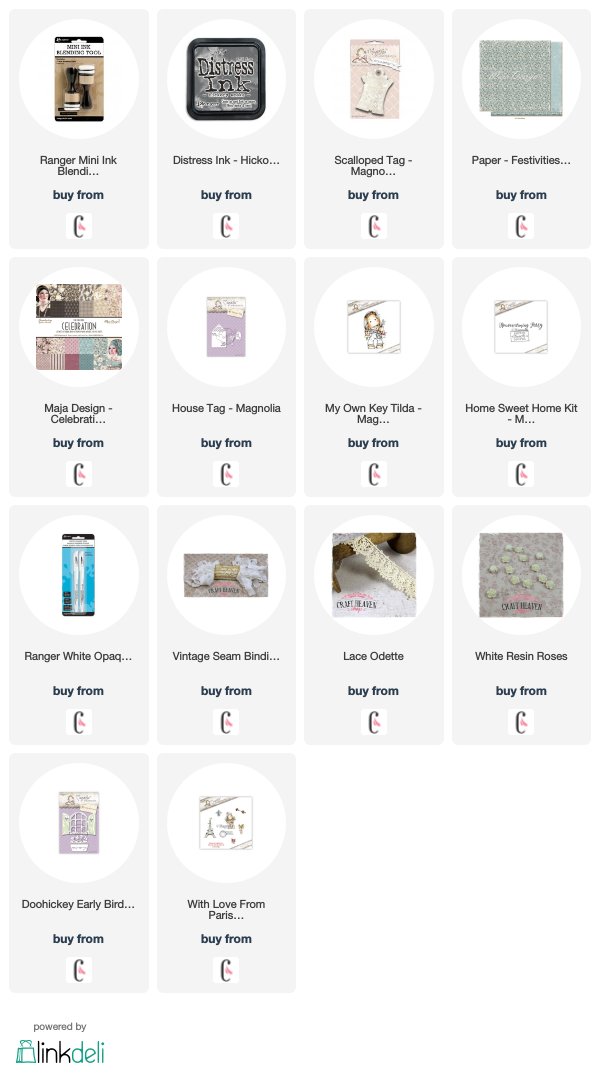
Good morning!  Today I'd like to share a 'New Home' card featuring the super cute My Own Key Tilda from the You Are Invited collection.  The gorgeous papers I've used are all from Maja Design's new Celebration collection.

 As always I have painted Tilda with Distress Inks using the no lines technique.  I've also added dots to her cheeks and top with a white gel pen.  I have used two different post mark stamps from Magnolia on the edges of the image.
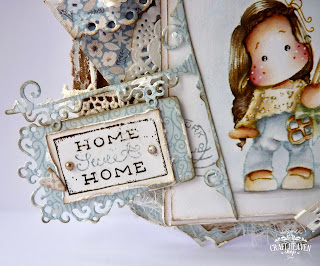
 I've used lots of Doohickey dies on my card.  This gorgeous sign from kit 4, Le Jardin seemed perfect to use as a for sale/sold sign, but now it says Home Sweet Home instead of sold!  Notice the two colour stamping on the sentiment?  Yes, I couldn't resist using my Tim Holtz Stamping Platform again!  I've added some tiny pearls over the stamped screw heads.
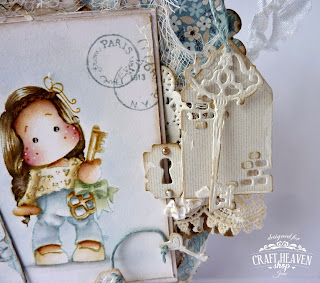
 How cute is the little key and house key fob?  I've joined them with some blue twine.  I've also given the lock some pearl 'screws'.  All three Doohickeys are from the You are Invited collection too.
 I created a little envelope with the medium Vintage Photo Frame Doohickey and popped a resin rose from Craft Heave on the flap.
 The window from Doohickey kit 4 also came in handy for this house themed card!
 I've used my favourite Bloomy Tag Doohickey and added white seam binding.
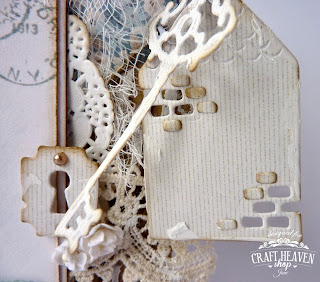
 Hanging from the tag is the House Tag Doohickey and a key Doohickey from last year's Advent Calendar.
 I used the cut out bricks from the House Tag to add extra interest to the house!
I hope you like it and I've inspired you to join us at Craft Heaven this month.  Thanks for looking! x