Showing posts with label Doohickey Volume 6. Show all posts

Sunday, 21 March 2021

Spring Snails Card


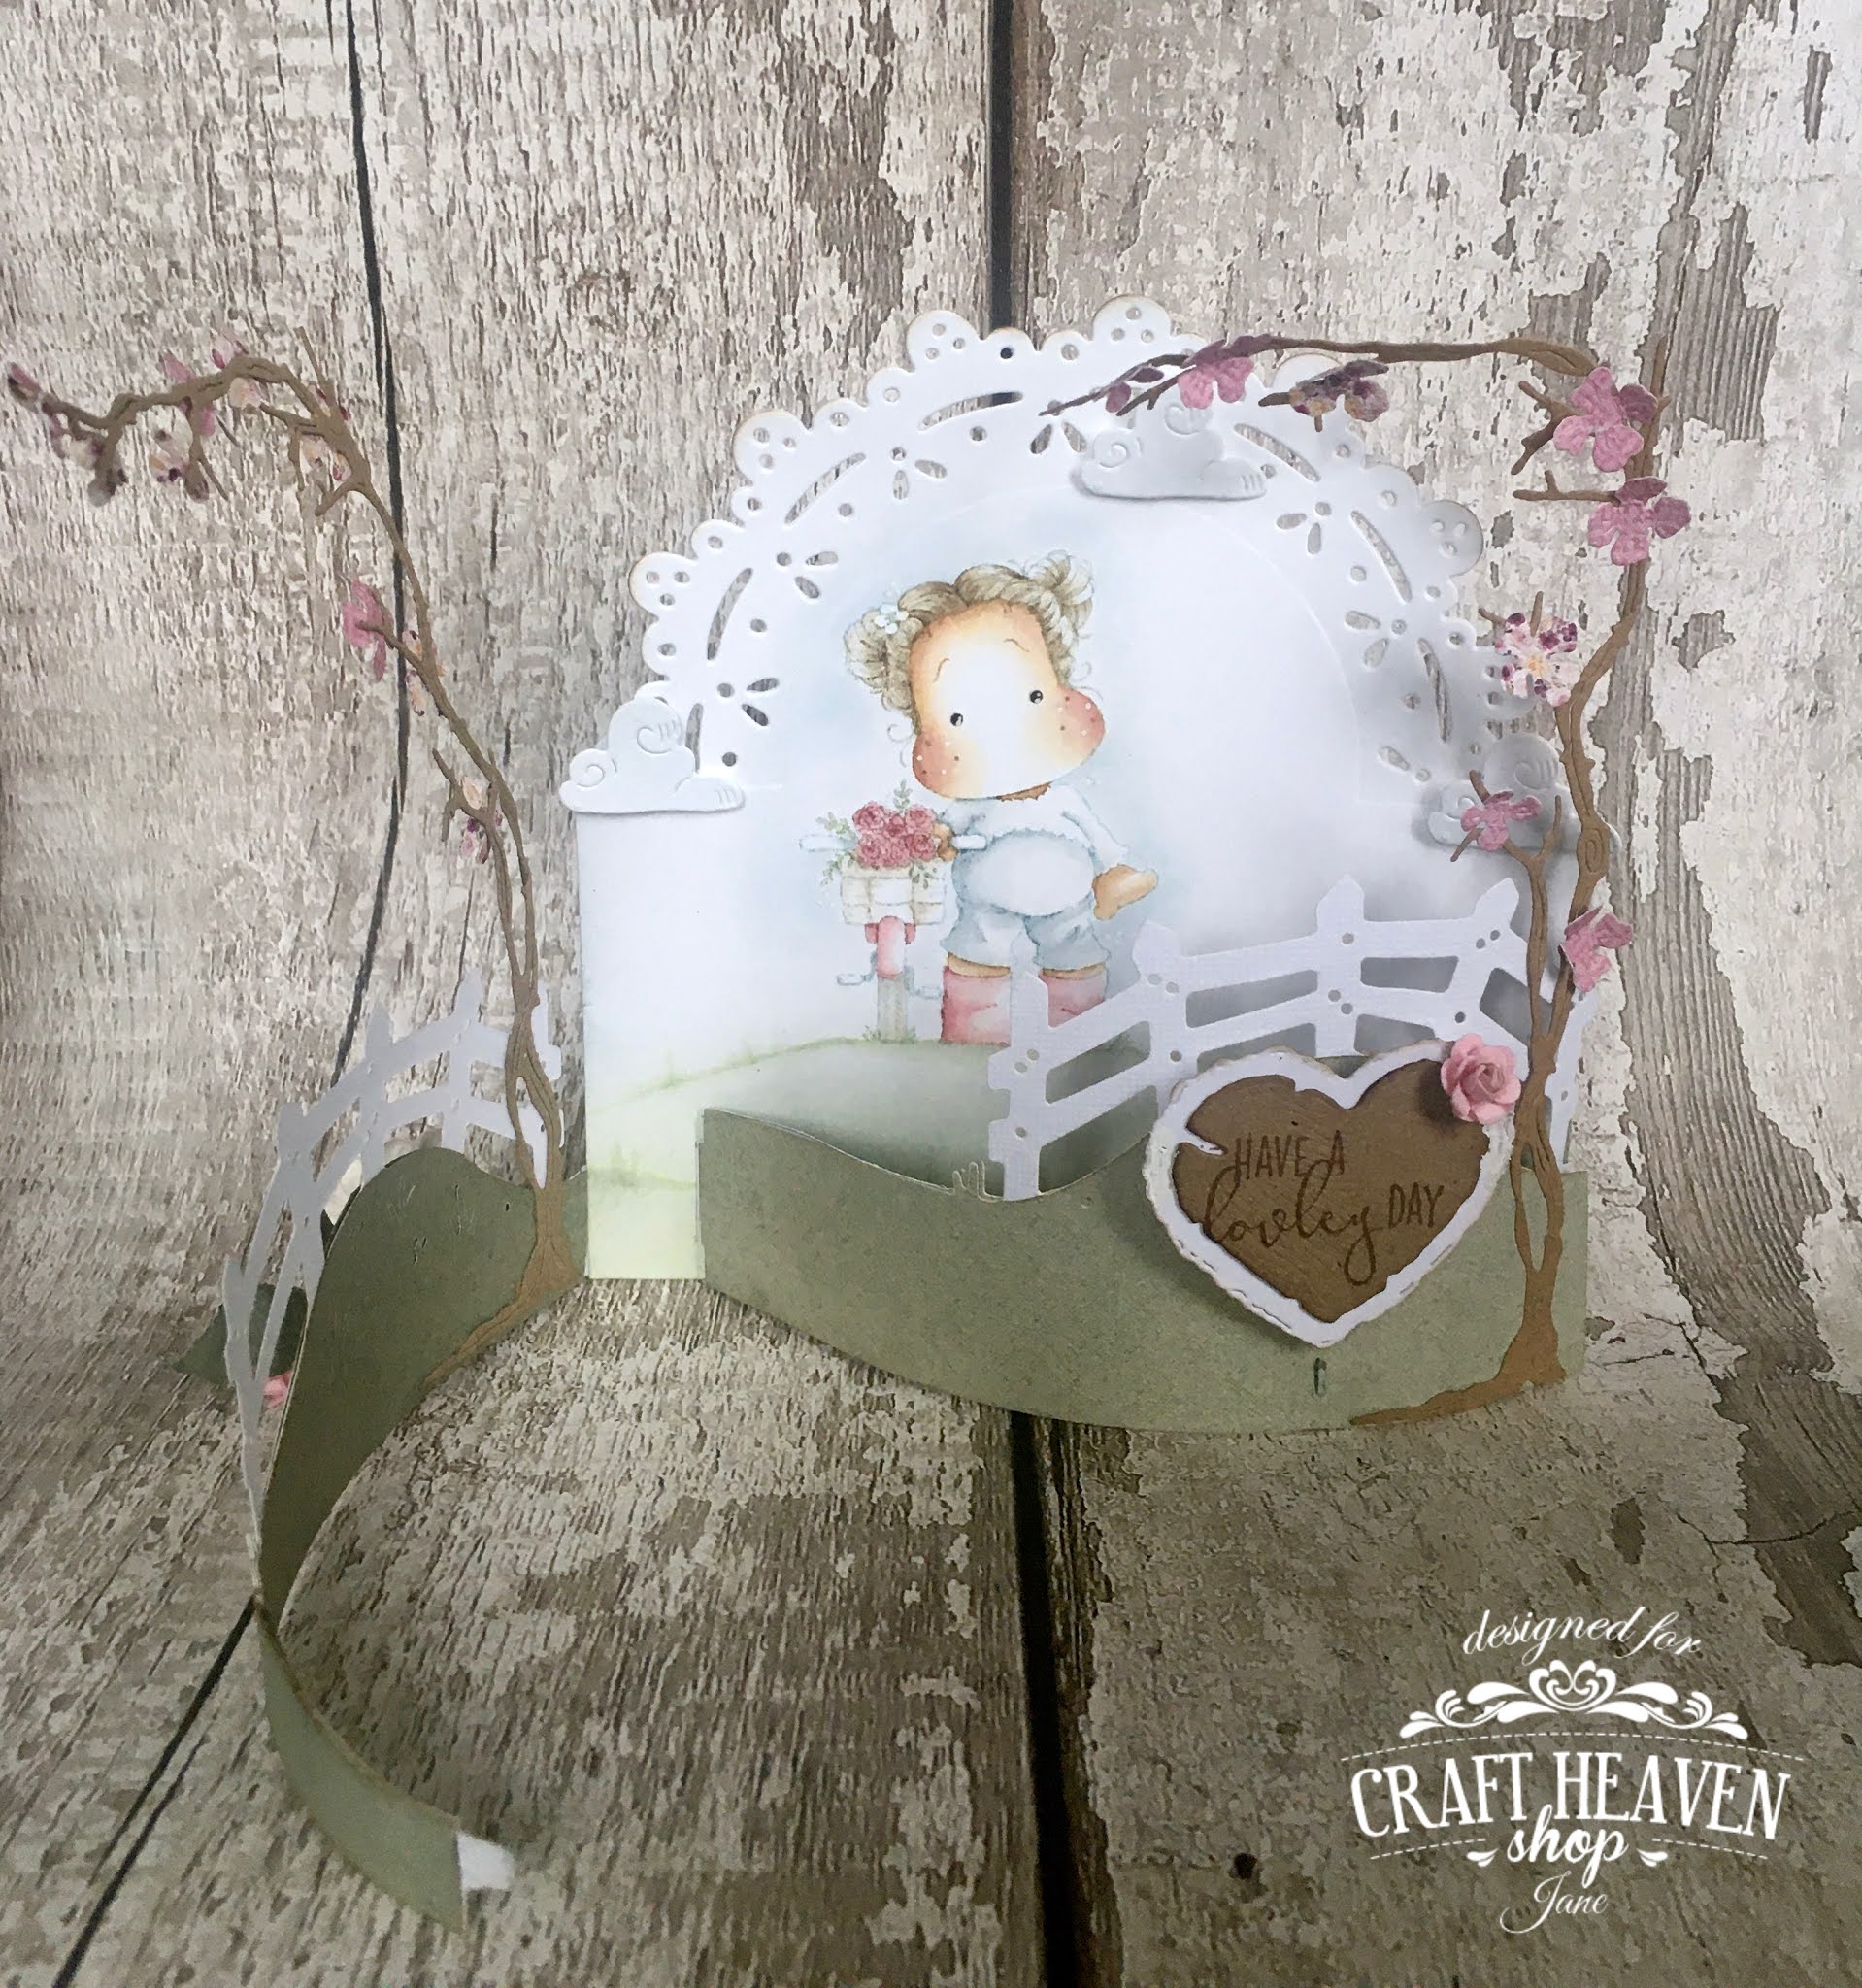
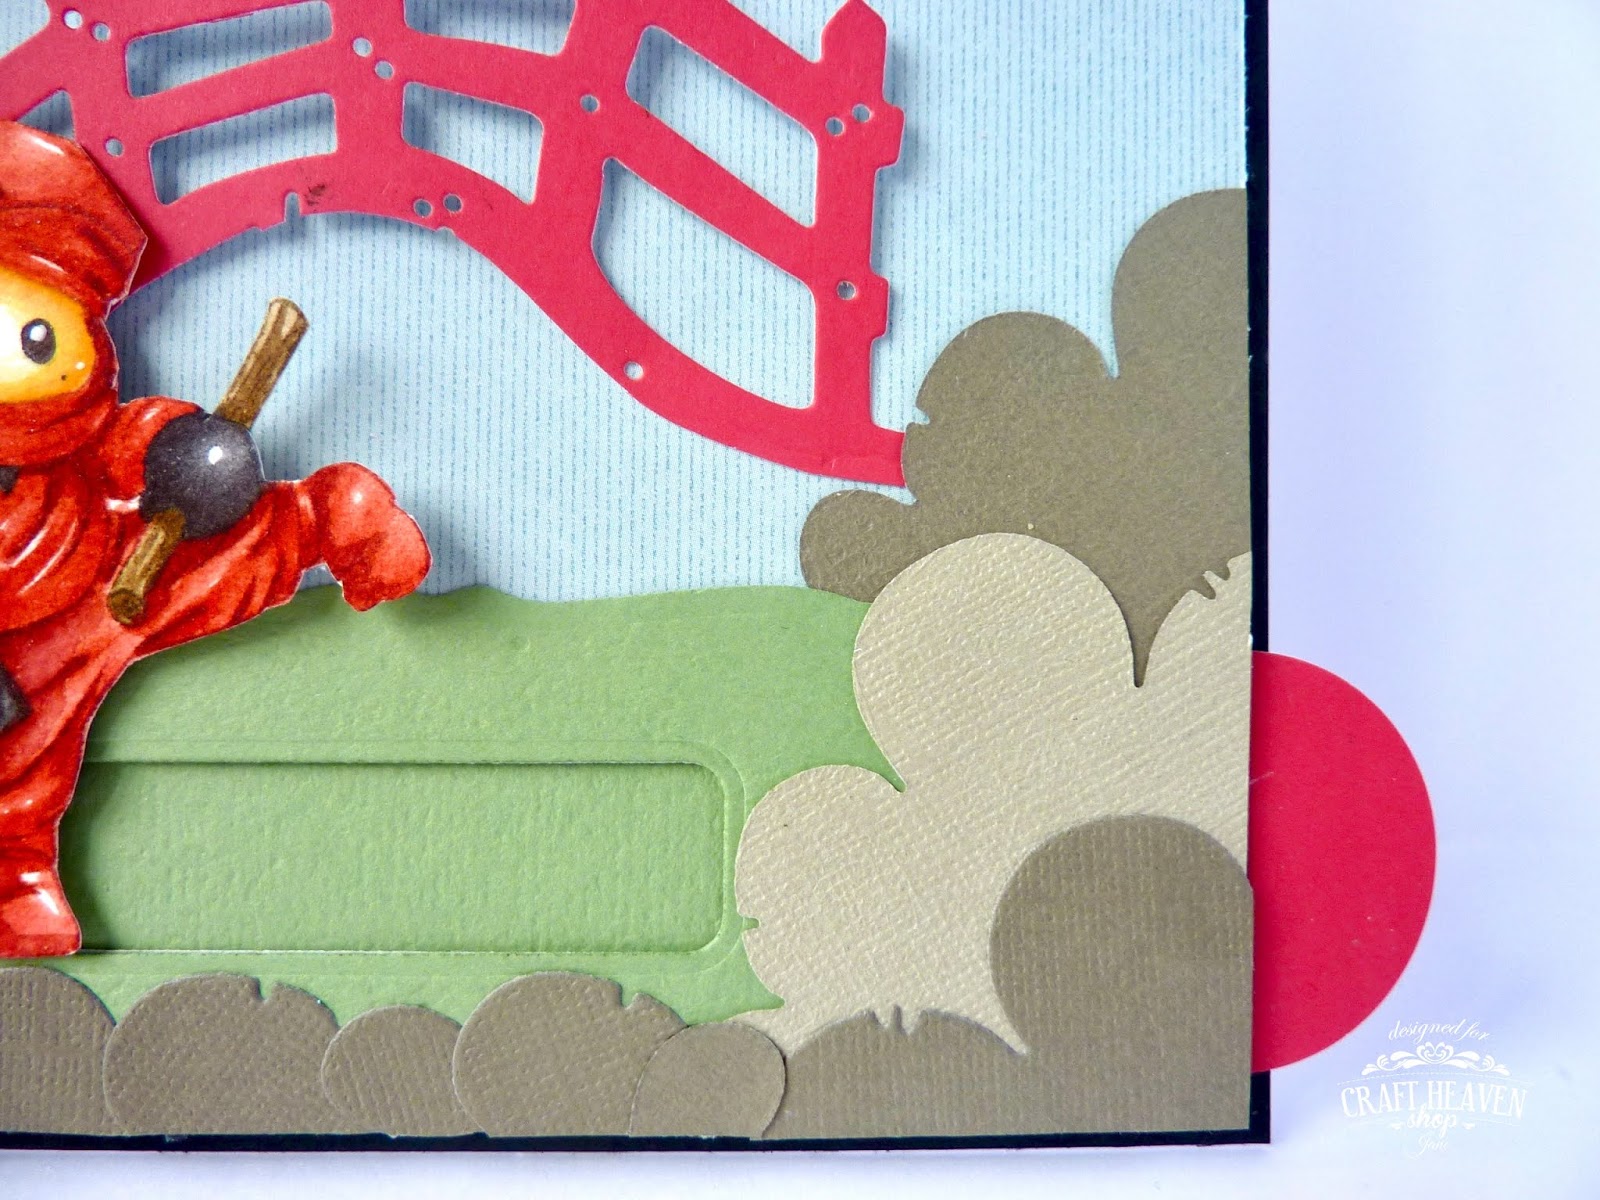
Good afternoon!  Today's card is one I made to be featured in the recent issue of Die-Cutting Essentials.  The background paper is from Maja Design's Summer Basics Collection.
It features the Bee-You Art Stamp Kit from Magnolia and also the Snails and Mushrooms from a few years ago.  They are still available from the Magnolia website though. 
The grass and mushrooms at the bottom was cut with a die from Doohickey Volume 6.  I'd never thought of colouring die-cuts in before I made this card but I love how it turned out.
I hope you like it and thanks for looking!

Monday, 1 March 2021

Flower Bike Tilda


Good afternoon!  Today I have made a gatefold scene card using the gorgeous Flower Bike Tilda from Magnolia's Lovely Collection.  The papers are all from Maja Design, the green is Monochromes, Shades of Winterdays, Moss Green and the pink is from the Little Street Cafe Collection.


This is what the card looks like when you open the first 'gate' of the card.  I have used the fence and hill Doohickey from Doohickey Volume 6 to create the little fence scenes on each side.  I have also used the tree and blossoms from Doohickey Volume 22.


This is the card fully open.  The cute clouds were cut with a die from Volume 25 and I have used the Doily Edge Doohickey for the top of the card.


As always, I have painted Tilda with Distress Inks. 


I have used one of the Woodland Tags for the sentiment and rearranged the Have a Lovely Day sentiment by masking parts of the stamp so that it fitted in the heart.


I hope you like it and thanks for looking!


Friday, 30 October 2020

Craft Heaven DT - A Boo From Me to You


Good morning!  I have another Halloween card to show you today, this time featuring the Trick or Treat stamp set from Magnolia.  The papers are from Maja Design. 


I masked the moon and stars stamp with Tilda and painted them with Distress Inks using the no lines technique before adding Stardust Stickles to the moon and stars.


The pumpkin stamp is also in the set and I have painted that with Distress Inks too.  The sentiments are from this set and the You Are My Pumpkin set and have been embossed with white embossing powder from Nuvo.  The potion bottle was cut with a Doohickey die from Volume 20.


The cobwebs were cut from coffee filter paper using a Doohickey die from Volume 6 and the leaves are from my stash.


The cute toadstools were cut with a Doohickey die from Volume 9.


I hope you like it and have fun with your Halloween activities tomorrow!


Wednesday, 28 October 2020

You Are My Pumpkin


Good evening!  I have a Halloween card to show you today using the cute You Are My Pumpkin stamp set from Magnolia.  The background paper is from the Celebrations Collection by Maja Design.


I have masked the truck and Tilda together and painted them with Distress Inks before adding Stardust Stickles to the mirror and tail light of the truck.


I have used the toadstool Doohickey dies from Doohickey Volume 9 and added Stickles to them too.


I have embossed the sentiments with white embossing powder onto paper from the Celebration Collection by Maja Design.  The cute pig is also from the stamp set and painted with Distress Inks.  The potion bottle was cut with a Doohickey die from Volume 20.  I have used paper from Maja's Little Street Cafe Collection for the purple liquid.


The 'here's a boo from me to you' and 'trick or treat' sentiments are from the Trick or Treat stamp set by Magnolia.


I hope you like it and thanks for looking!


Thursday, 24 October 2019

Craft Heaven DT - Halloween


 Good morning!  Today I am back with another card for Craft Heaven for our Halloween theme.  As I don't have any of the new Halloween stamps I wanted to find a Halloween use for another stamp.


This Masquerade Tilda, I decided, is perfect for the job.  I've seen lots of Halloween themed masks like that when I've been out shopping.  The backing paper is from Maja Design's Celebration collection.  I used masks of letters to ink around to create the ghostly looking Boo! sentiment.


I've used the pumpkin Doohickeys from Volume 6 along with a swirling vine from the same collection.


The cobweb diecut is also from Volume 6 and I've added a spider charm from my stash along with lots of cheesecloth to add to the cobweb look.


I hope you like it and thanks for looking!


Wednesday, 17 October 2018

Craft Heaven DT - Spooky!

Good evening!  Our theme on the Craft Heaven Blog this week is Halloween/Spooky projects.  I have created a sugar skull shaped card and painted Wonderful Tilda from the You Are Invited collection with her face painted for Dia de Muertos.
I painted Tilda with Distress Inks as always, using the no lines technique.  I used Distress Inks and a fine black pen to create Tilda's face make-up, a white gel pen for the highlights in the flowers and eyes and a silver gel pen for the flower details on her dress.
 I used Doohickey dies to create the details on the sugar skull.  The heart nose is an off-cut heart from the heart tag from Volume 9 and a leaf Doohickey from Volume 9 to create the swirls near the nose and mouth.
The swirls on the forehead are actually the balloon string from the balloons Doohickey in Volume 5 and the heart is also from the heart tag.  The flowers around the eyes were cut with a flower Doohickey from Volume 6.
 I hope you like it and thanks for looking!  Pop over to the blog for more spooky ideas from the rest of the team.


Wednesday, 30 May 2018

Ninja Birthday Card

Good morning!  I have a cute boy's card to share with you today that I created for a little boy who loves Lego Ninjago.  Of course, I had to paint Ninja Edwin from the Sakura Collection to match his favourite character, Kai.


I also painted Edwin's face yellow so that he looks like a Lego figure rather than a real person.  It worked pretty well I think.


The backing paper for the card is by Maja Design and then I have used lots of coloured card from my stash to create the rest of the details.  I have used the Tower Doohickey to create the Ninjago Temple.  I cut the roof part twice and snipped the point off one to use it lower down on the tower.


I used the fence Doohickey from Doohickey kit 6 and cut away the grass part to make the bridge.  I have also used the Cloud Doohickey several times to create the rocky edges around the rest of the scene.  


I used a circle punch to create the tab on the side of the card.


 Pull the tab and see what happens!


 I hope you like it and thanks for looking!